1. Sew the rows. I began the front of my quilt by sewing each individual row of pieces together. The lap quilt has given me 14 strips and I will arrange one strip to each color in the Color Wheel order. I numbered each strip 1 through 14 and divided them into pairs. I flipped the second (even) strip right sides together to the first (odd) strip. Once all strips are paired and facing each other, I used a straight stitch on my sewing machine to sew a 1/4-inch inseam. I basically sewed all pairs assembly-line style.
2. Sewing Pairs into "Circles"
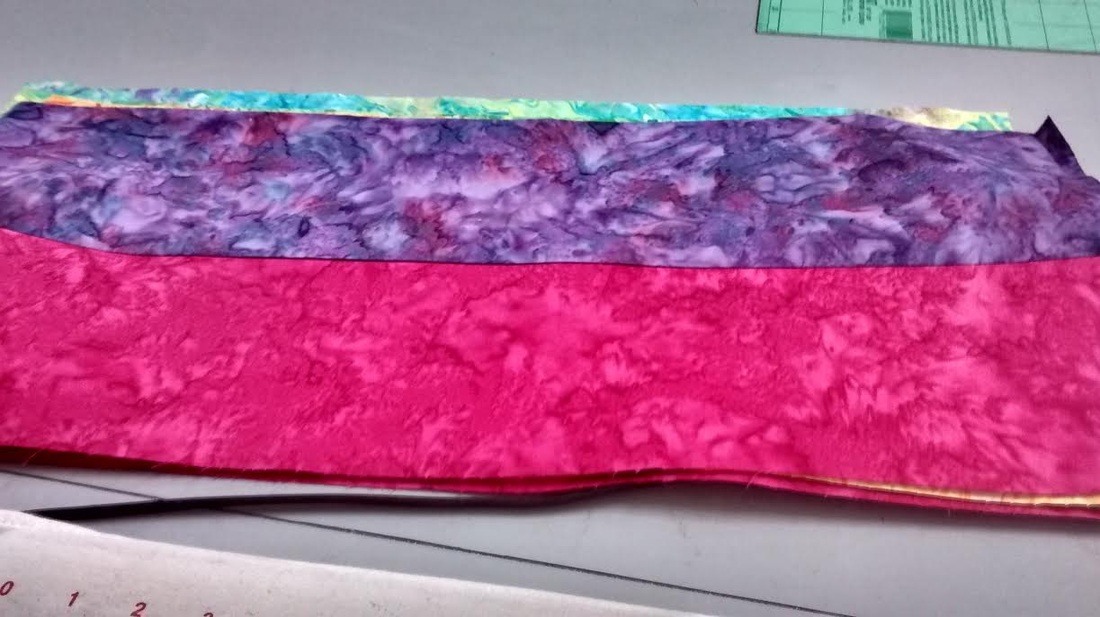
After sewing the pairs together, I brought the first strip to last strip with right edges together and line up top edges. It helps to pin edges together to keep the fabric intact while sewing them together with 1/4" seam.
After sewing the pairs together, I brought the first strip to last strip with right edges together and line up top edges. It helps to pin edges together to keep the fabric intact while sewing them together with 1/4" seam.
3. Cutting "Tubes"
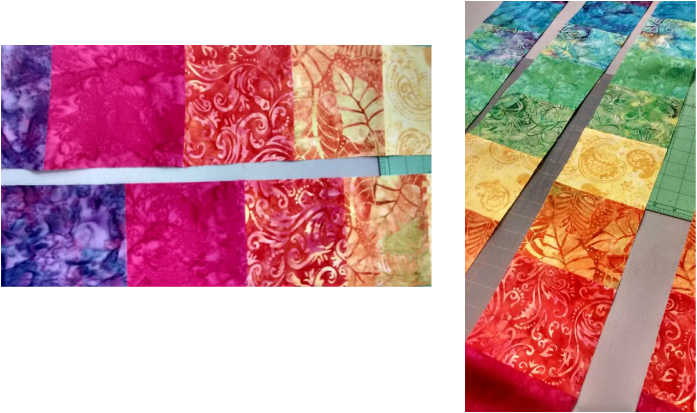
After sewing the pairs into "circles", the next step was cutting them into "Tubes" with the help of a 6" x 24" Ruler and a rotary cutter.
- Lay the "circle" on the cutting mat and fold it to the ruler's length. The left edge must be straightened.
-The number of 5" "Tubes" I cut for the Lap quilt are 8.
-The remaining half set was cut into 2 1/2" "Tubes" for the Narrow Border.
TIP! When using the rotary cutter, I read it is best to use the hand you write with (my right hand) to firmly cut the fabric with the tool. The other hand which happens to be my left is to press down on the ruler and cut the fabric in thirds. I cut 1/3 of "tube" then I inched my fingers up higher on the ruler and without lifting the blade, I continued to cut and I moved my left fingers up higher and finished cutting with my right. It is advised to NOT lift the rotary cutter from the fabric because it could snag/ruin the fabric.
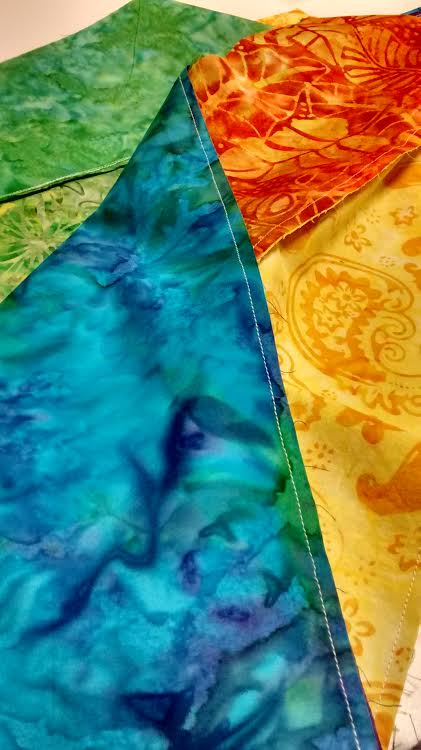
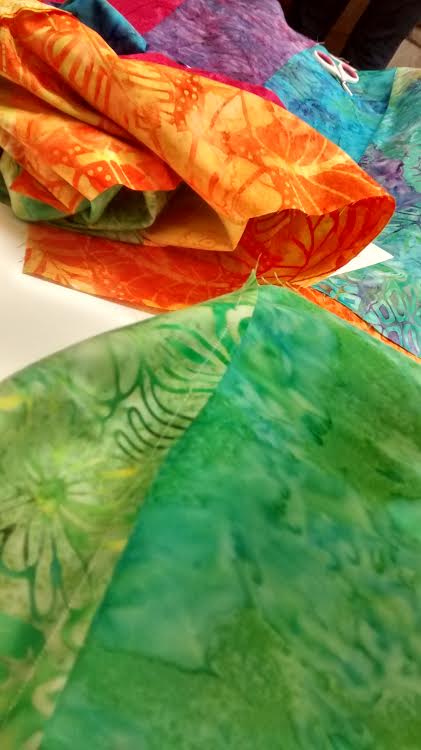
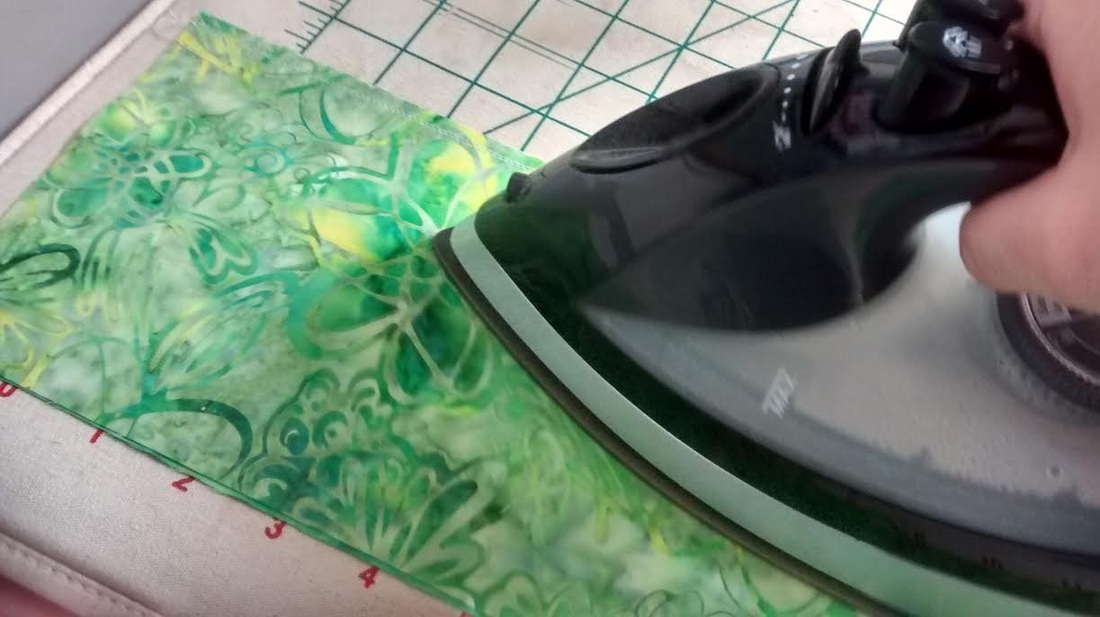
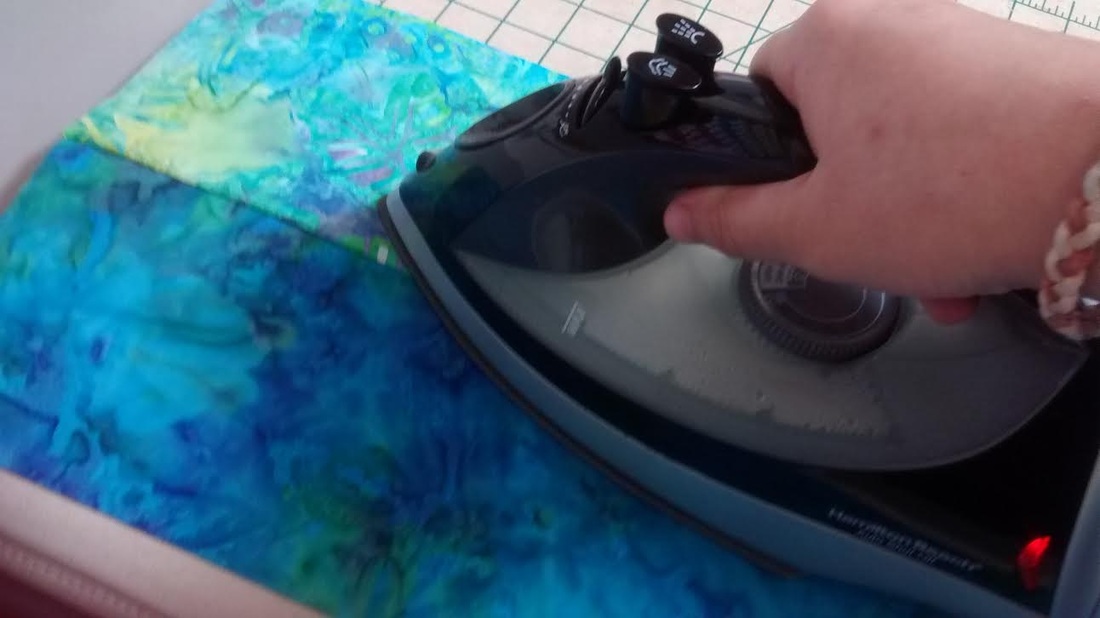
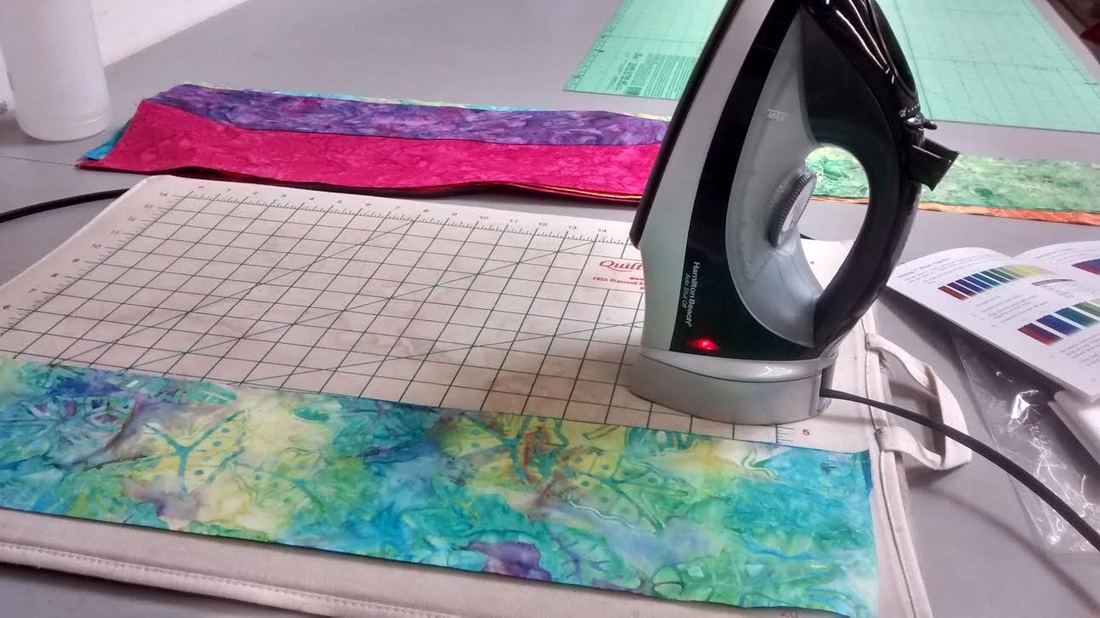
Iron the finished "Tubes" once more to keep the fabric crisp and flat
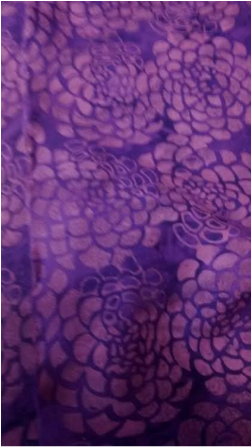
 Love how crisp and flat my strips are. Love the colors!
 Step 4 is to pick up one "Tube" which will be folded in half by Square #1 and will be cut in half with fabric scissors. The next step is to open and place right side up and I had to make sure seams all go down.
-I chose a second "Tube" and I cut on stitches between quilt square #1 and #2. I then opened the "Tube" and placed it beside the first "Tube" with seams going down
-The third "Tube" was selected and I folded square #2 in half and locked the seams. I cut this in half with scissors and placed right side up beside others making sure seams go down.
-The 4th "Tube" was required to be cut on stitches between #2 and #3
- I continued this until all 8 "Tubes" have been placed.
LAP QUILT: Placing Background Strips
After all 8 "Tubes" have been placed, I placed each whole strip and matching size half strip together to have seven 60" long strips
-I placed the background strip between the first and second rows. Each background strip measures 3 1/2".
-I continued the process of separating rows and placing Background strips between each row except the first and eighth strip.
-To avoid messing up, I used pins to hold the rows until it was time to sew each row together.
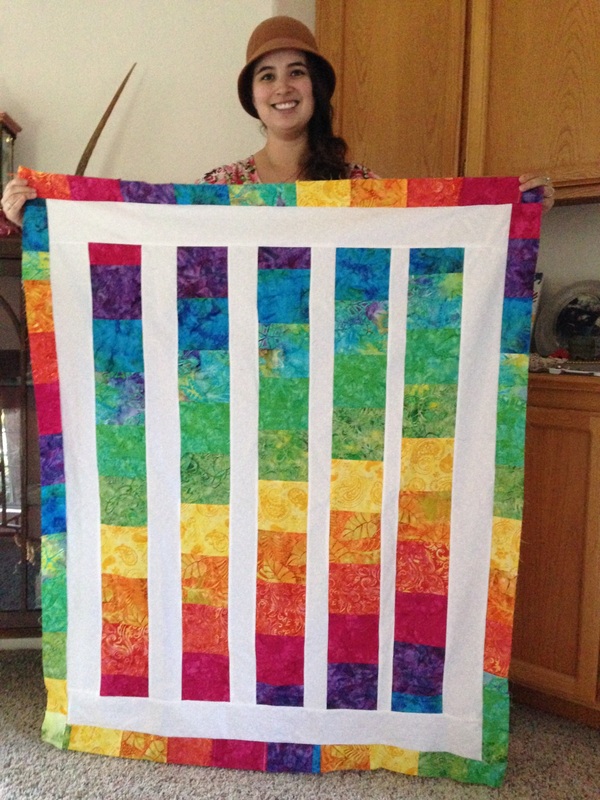
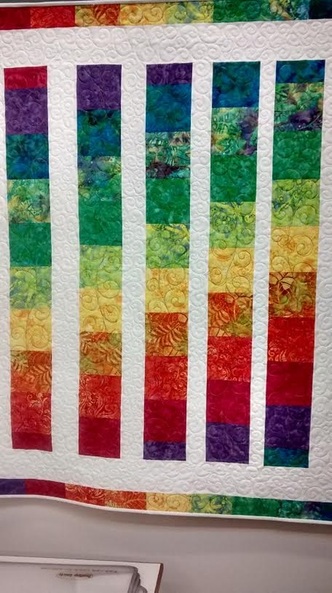
I used the same process as I did for sewing each small square of fabric together to sew each row of fabric together. I had to take two adjacent rows and turn them inwards so the patterns are facing each other. I sewed along the bottom using a ¼-inch inseam. I repeated this process for each additional row, until I had a complete quilt front. See images below:
Once it was all sewn together, I flipped my quilt front over so the backside is exposed. I used the same technique for ironing each individual row for ironing the entire back of the quilt. Flatten out the inseams in opposite directions - the first row left, second row right, third row left, etc. Doing a quality job on pressing the fabric will make sewing the whole thing together much easier. See image below of me with the front of my quilt! :)
 RSS Feed
